TEST SHOOTS
Motorway long exposure
For my 1st test shoot I set up to take some long exposure shots of moving traffic on a motorway during daylight. For this shoot I’ll need to use a tripod and ND filter due to the long exposure time needed, a remote shutter also helps reduce camera shake. From a health and safety perspective I’d need to make sure I was in a safe position and not causing a blockage in the road, and at the same time make sure I wasn’t so prominent that I caused a distraction to the traffic.


During this test shoot I tried using several varying ND filters, finding that an ND4 filter was no where near strong enough and resulted in heavily over exposed images even with a shutter speed of 5 seconds, by using a stronger ND filter (ND1000) I could maintain a lower ISO but found that even then a shutter of anything over 2 seconds caused me to not capture anything at all, and the road looked empty, I established that a good aperture was around 3.5 to 4 with a shutter speed of around ½ second to 1 second captured the movement well.
Motorway shoot 2 (night shoot)
For the 2nd test shoot I continued on the theme of motorway traffic but focused on light trails and took pictures in the late evening, again I’d have to make sure I wasn’t causing an obstruction or distraction, but at the same time make sure I was visible enough to remain safe, as the shoot was in February gloves and a coat were essential and a torch came in handy ot help me adjust my settings.
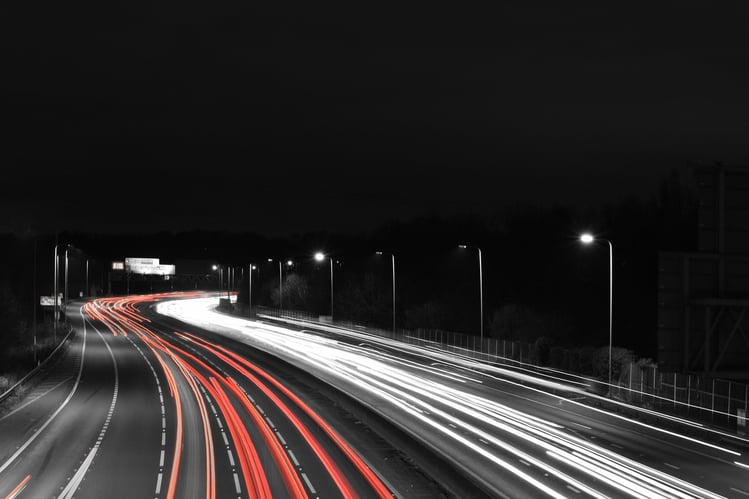

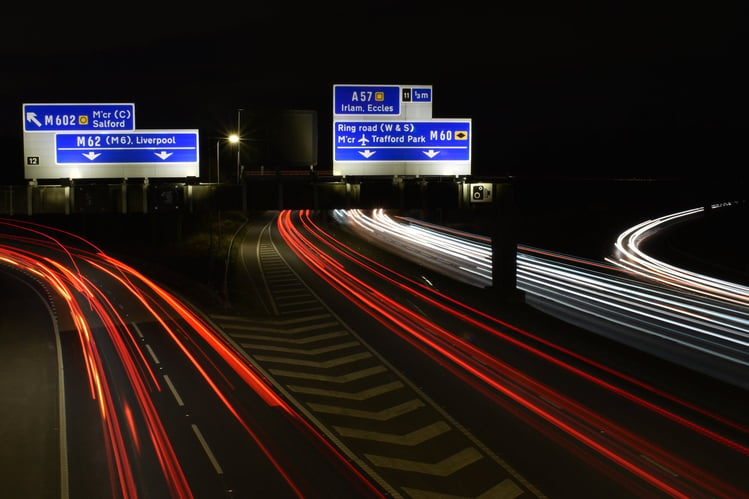

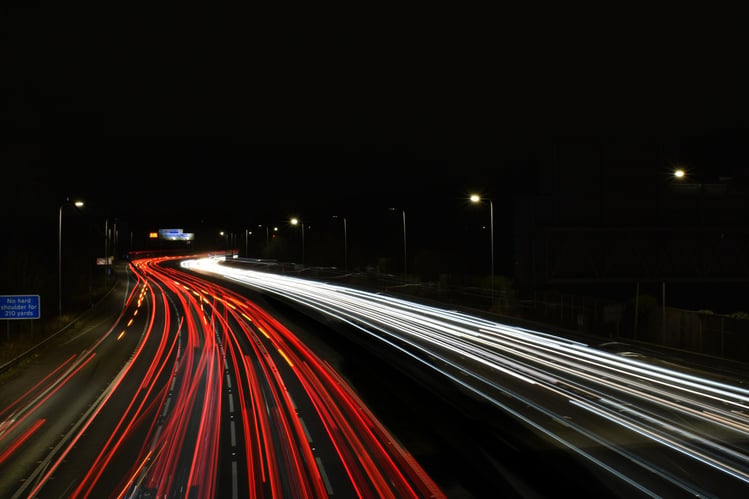

Taking the pictures during the evening meant I didn’t need to worry about an ND filter, but I found that due to capturing light trails any camera shake was magnified hugely, so a tripod and remote were essential. The low lighting at night gave me greater control over my settings and depending on the speed of traffic I could remain with an ISO of 100 and use both my shutter and aperture to try and capture the movement I was looking for.
City centre shoot
For the final test shoot I ventured into Manchester city centre, where the mixture of traffic, people and public transport proved to be rather more challenging, for standard shots during daylight I could shoot handheld with a shutter speed under 1/60th and as no tripod was needed I could move round quite freely. Once I tried to take some longer exposure shots I needed to revert to my tripod and ND filter.


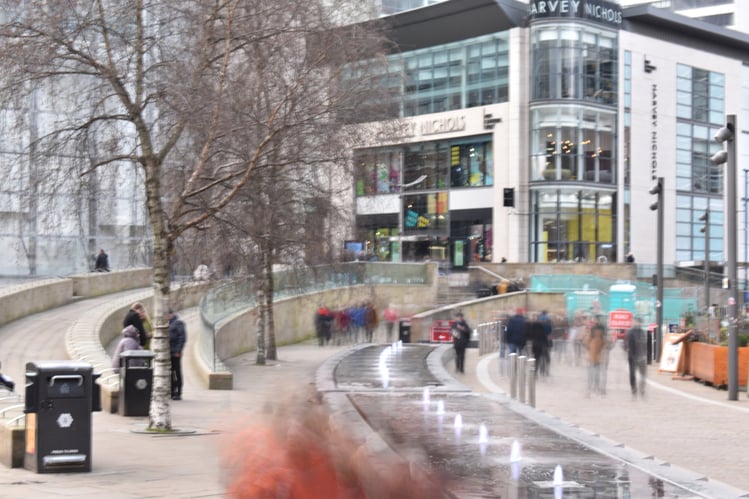

Although I thought I may face some questions from members of the public I found people were generally far to busy going about their business to care what I was doing. One of the biggest challenges I faced was making sure people didn’t walk into me! I found this shoot the most satisfying out of the 3, combining what I had tried and tested in the 2 earlier shoots with long exposure gave me a good starting point here for shutter speed, aperture and ISO. Although as you can see in the third shot I still have a way to go!
Assesment
During the 3 test shoots, I have discovered the massive differences in equipment and technique to enable capturing the pictures I was looking for. Long exposure shots taken during daylight definitely require an ND filter, and at a minimum of ND1000, anything lower doesn’t allow you a long enough exposure time. You really need to be able to adjust your shutter speed so it’s relative to the amount of movement, if your shutter speed is too long the image can come out looking like there is nothing there. Light trail photography for me was the easiest to be able to control, a steady tripod and remote shutter were essential, but I found I could adjust and alter the shutter speed and aperture more freely.
The third shoot in the city centre was the most challenging for me, trying to balance a focal point, whilst at the same time trying to get a good composition, all at the same time as trying to capture the movement of people, buses trams and cars, it was a lot to try and balance but hopefully I’ll be able to produce some good images in the final shoot
Screenshots
