DAYLIGHT SHOOT
Daylight photography should be relatively straight forward, with good natural light you can start with a low ISO (100) and a mid-range aperture (F8) combined with a shutter speed of 1/125. When lighting is good it gives you the opportunity to adjust your settings to create the image you are looking for rather than having to worry about getting the right exposure. You can use your aperture to control your depth of field creating focus on the subject (lower the f/stop to make a shallow depth of field) or slow down the shutter to capture movement (just be careful if you drop below 1/60 to use a tripod).
When going out for a daylight shoot it is important to consider the practicalities involved, you don’t want to get out on location to find you have left your spare battery behind or lighting is low, and you’ve not brought your tripod. You also need to be aware of your safety and the safety of those around you – if on location its always best to travel in pairs and where possible check the location first, you want to make sure you are wearing the right clothing for the environment, you don’t want to be slipping in the wrong type of footwear, or getting soaked by the rain, that won't do you or your kit any good.
Edits










Review
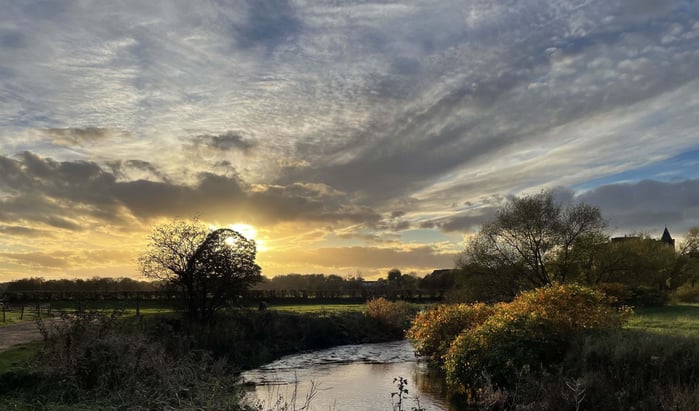
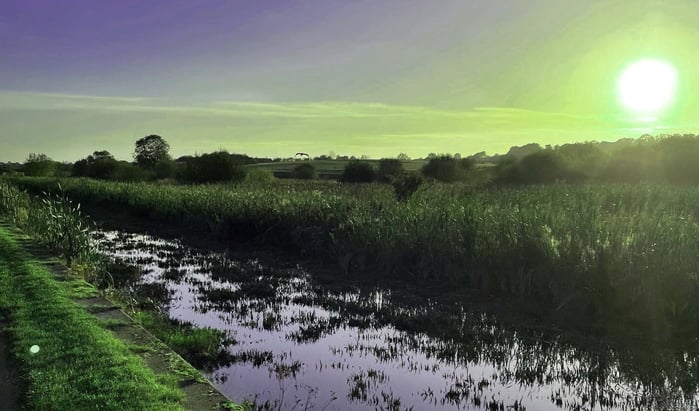
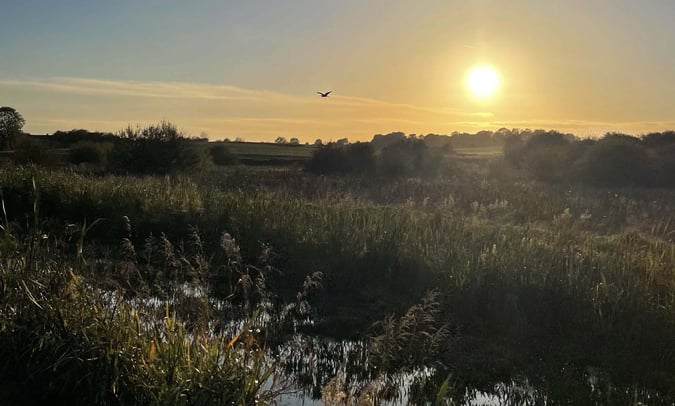
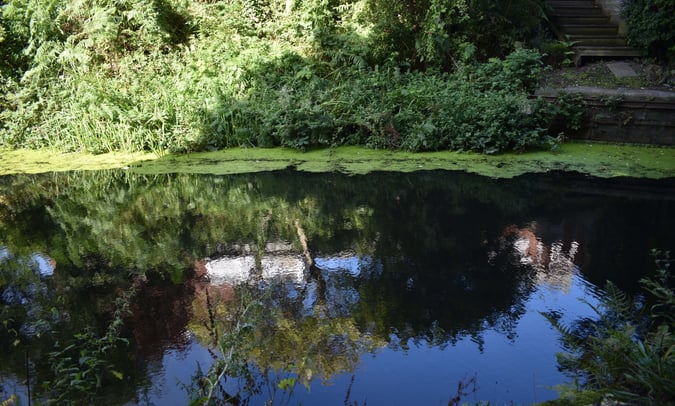
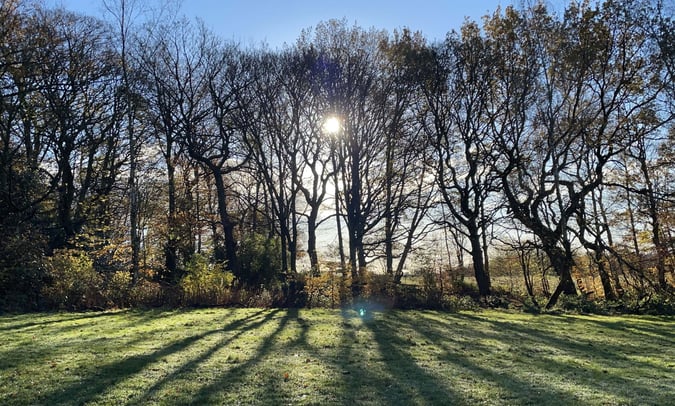
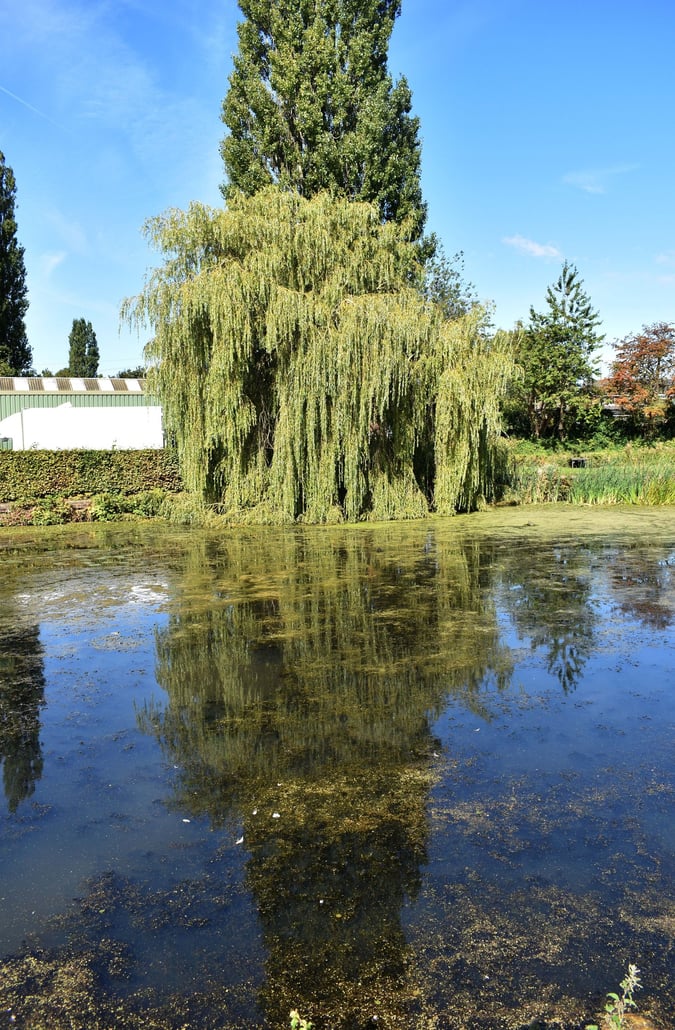
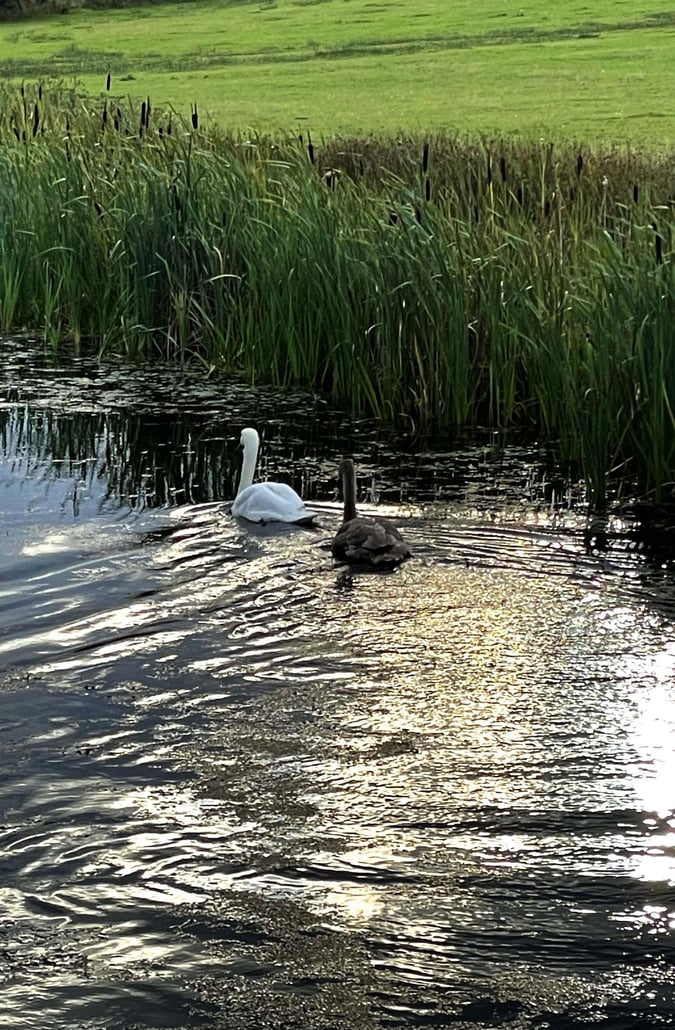
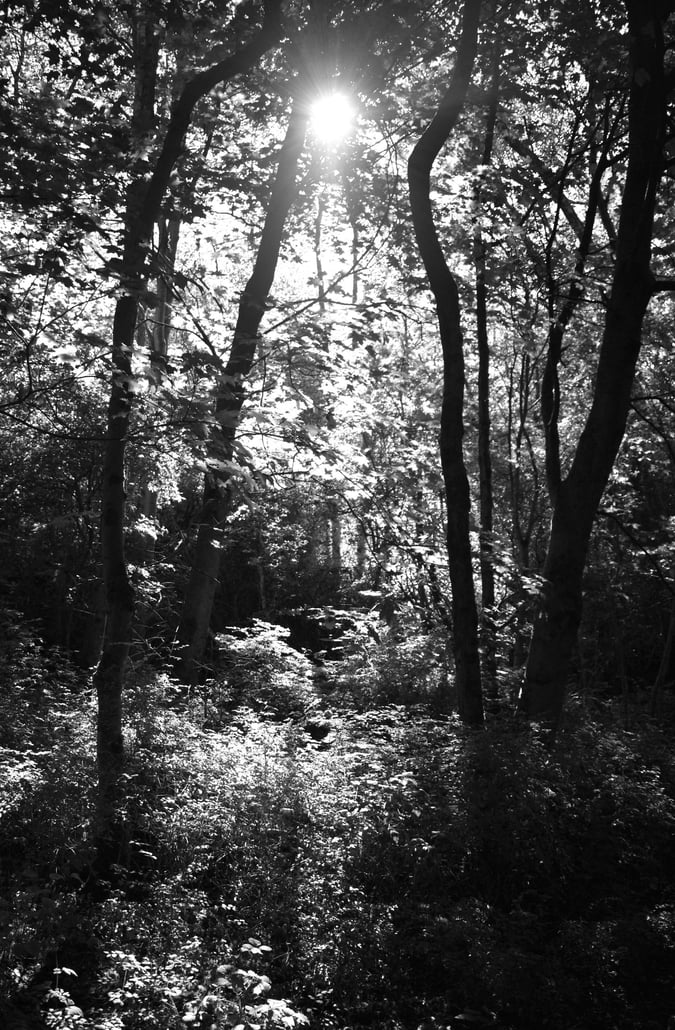
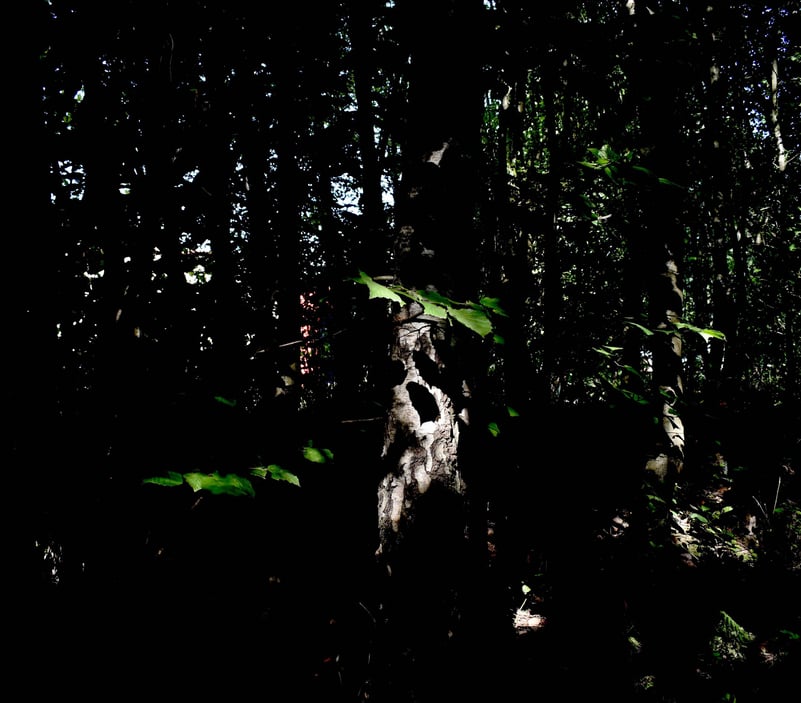
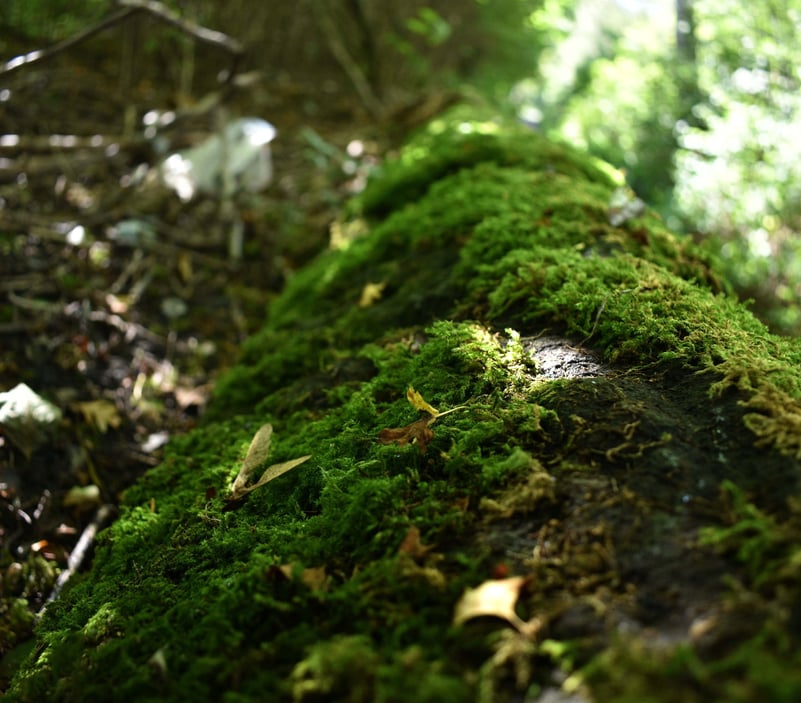
For the first shoot of level 2 I decided as it was such a broad remit to try and focus on the “light” rather than a specific subject, it was far more interesting and challenging trying to focus on light patches that were dappled through the trees and reflections on the water surface, traditionally I’d try and use a polarizing filter to cut these out! When taking pictures of a shaded area with bright sunlight and one end, it meant that the TTL meter was useless, and I had to adjust the exposure using my eye to get the image I wanted. Overall, it was an interesting shoot with some mixed results, I’m finding I’m drawn towards using different vantage points more and more.
